# Ramps and Access: Complete Installation Guide
## Introduction
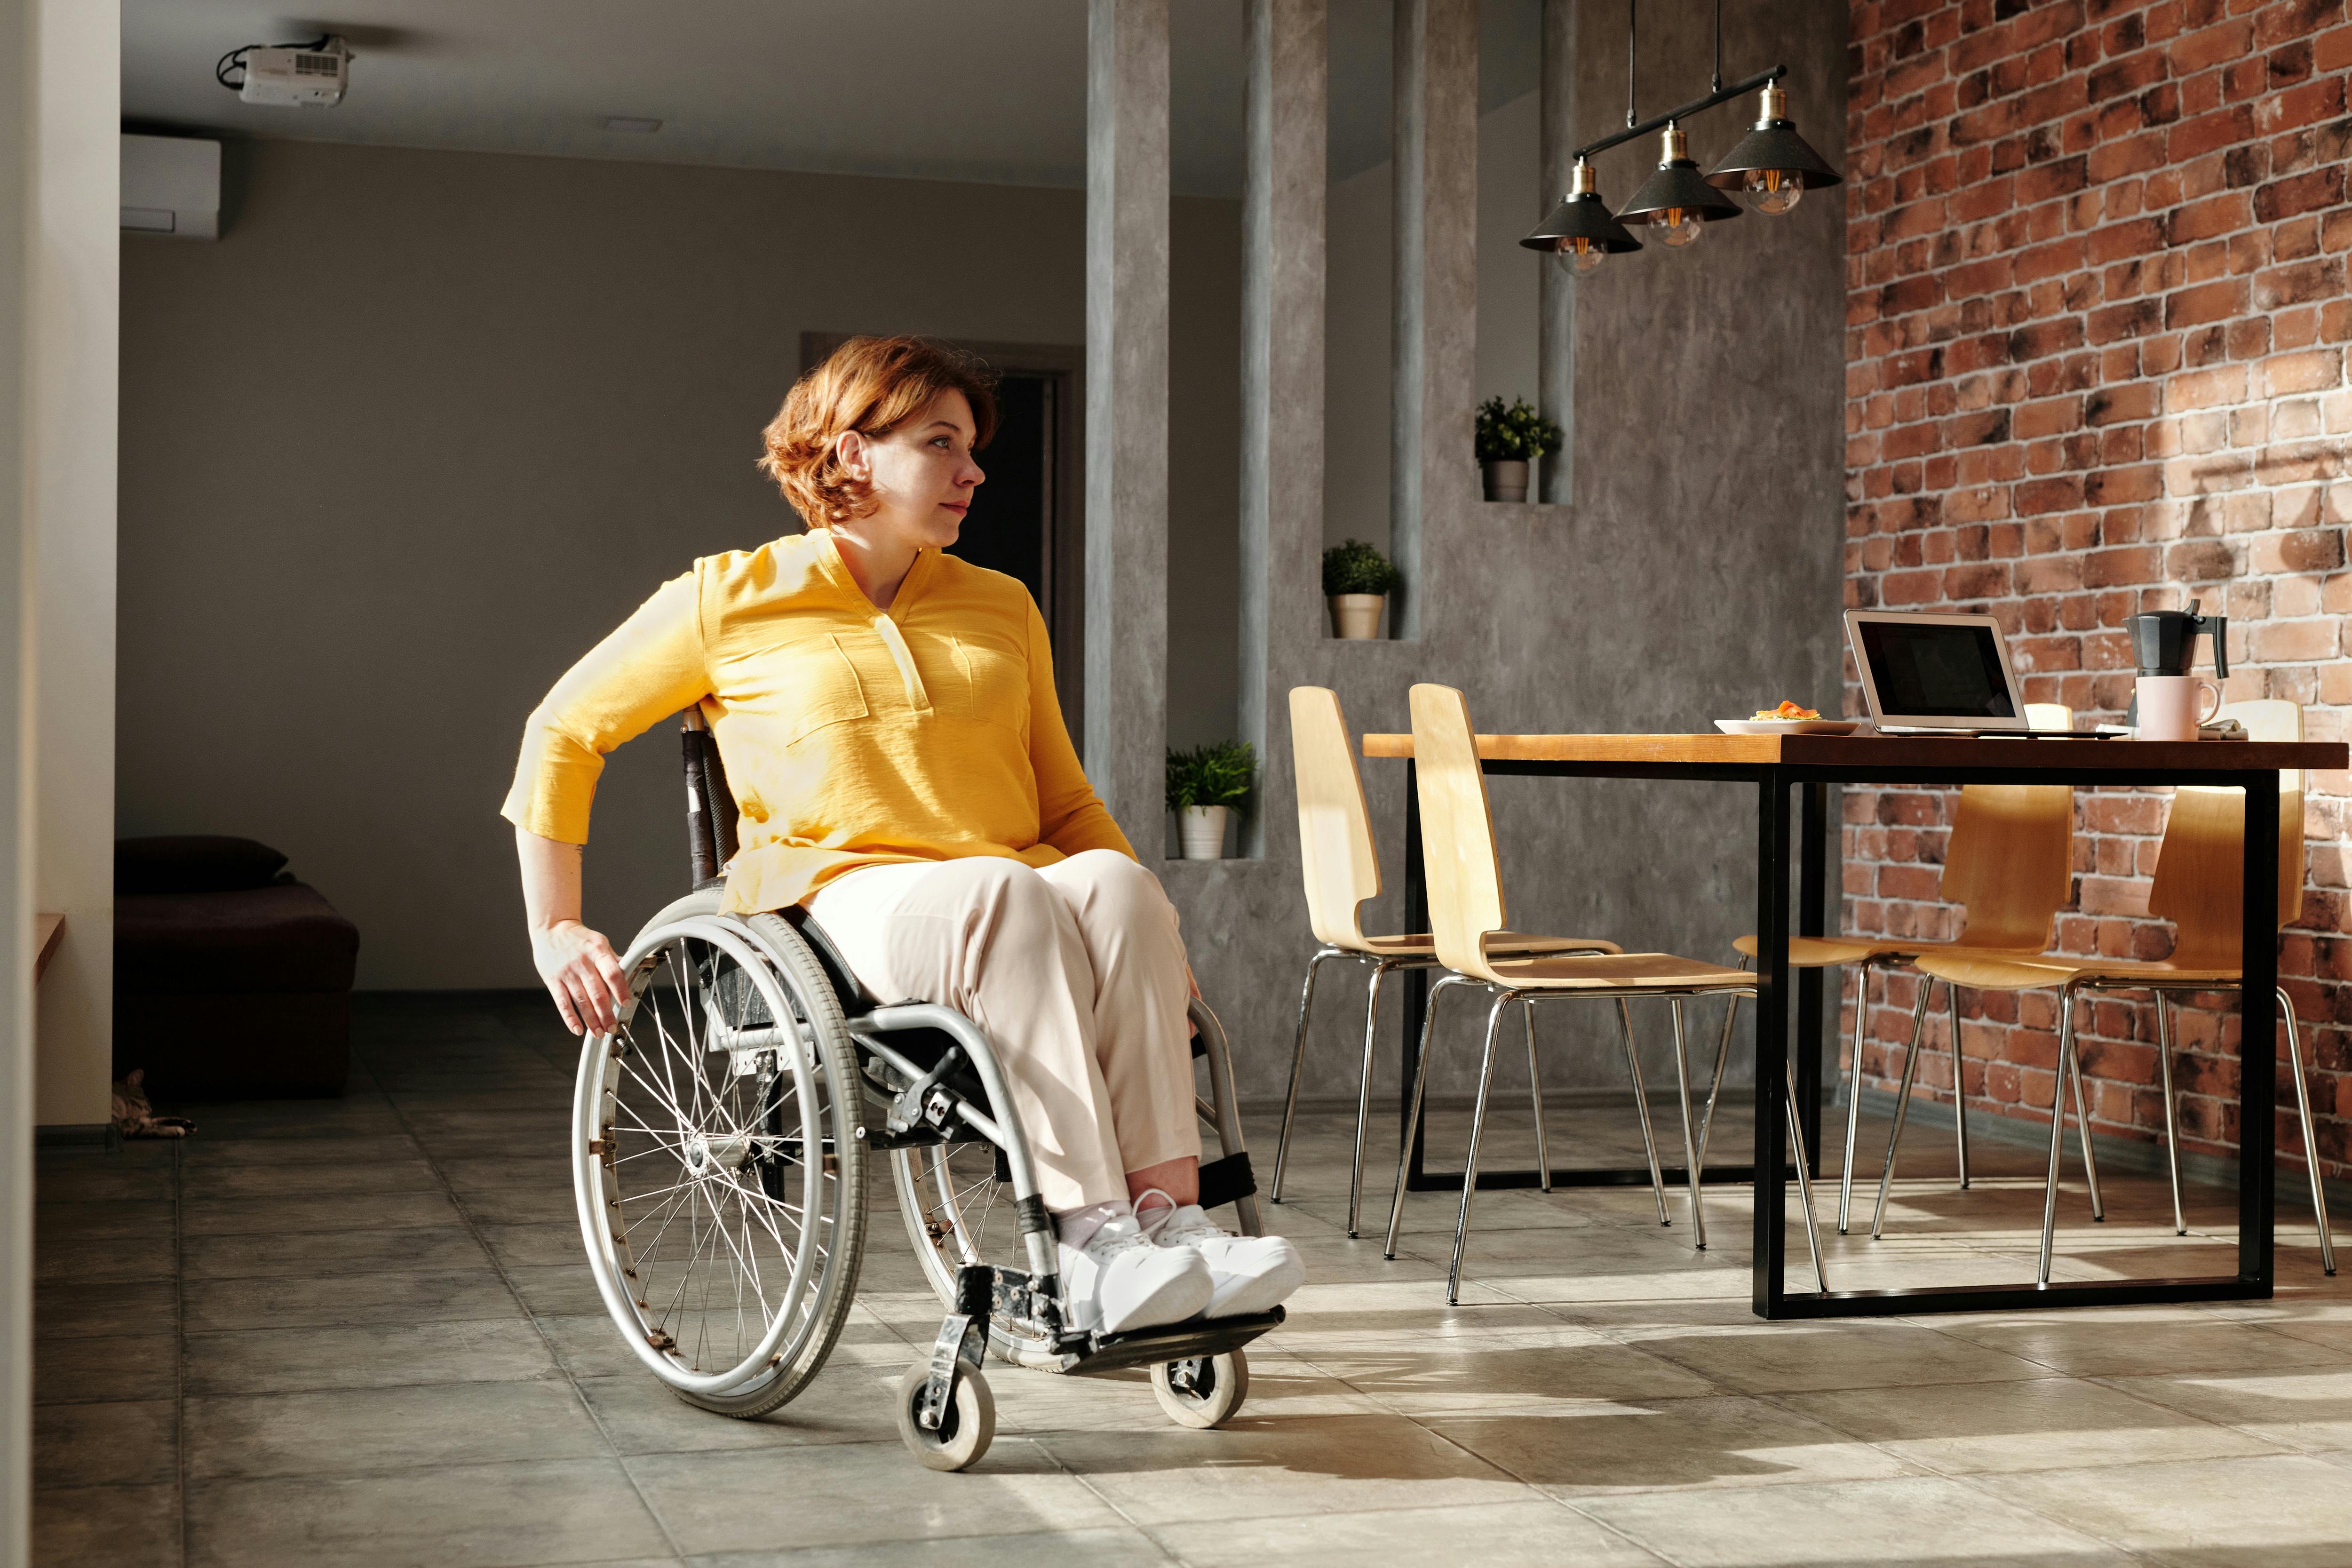
Everything you need to know about wheelchair ramps including Australian Standards, types of ramps, materials, and installation requirements. Whether you need a temporary solution or permanent installation, this guide covers all aspects of accessible entry design.
## Understanding Australian Standards
### AS 1428.1 - Design for Access and Mobility
This is the primary standard governing ramp design in Australia.
Key Requirements:
Gradient:
Maximum 1:14 (1 meter rise per 14 meters length)Steeper gradients acceptable for short distances: - 1:10 for maximum 1900mm length
- 1:8 for maximum 375mm length
Flatter is always better (1:20 ideal)Width:
Minimum: 1000mm clear widthRecommended: 1200mmPreferred: 1500mm (allows passing)Landings:
Required every 9 meters maximumAt top and bottom of rampAt any change in directionMinimum size: 1200mm x 1200mmLarger if door swing interferes: 1500mm x 1500mmHandrails:
Required both sides if rise over 190mmHeight: 865-1000mm (measure from ramp surface)Diameter: 30-50mm (32-38mm ideal for grip)Continuous along full lengthExtensions 300mm beyond top and bottomGraspable profile (circular or oval)Edge Protection:
Required if vertical drop exceeds 150mmMinimum 75mm heightCan be upstand, rail, or solid barrierSurface:
Slip-resistant (minimum R10 rating)Firm and stableEven surface (no gaps over 5mm)No protruding elementsTactile Indicators:
Required at top of ramp300mm depth warning stripContrasting color and textureAssists visually impaired users### National Construction Code (NCC)
Complements AS 1428.1 with building regulations:
Fire egress considerationsStructural requirementsWeatherproofing standardsCertification requirements## Types of Ramps
### Portable Ramps
Threshold Ramps
For small steps (up to 150mm)Lightweight aluminum or rubberNo installation requiredEasily moved or removedCost: $100-$400Ideal for: Rental properties, temporary needs, doorway thresholdsFolding Ramps
For medium steps (150-600mm)Fold in half for transportTypically aluminum with textured surfaceWeight capacity: 300-400kgCost: $300-$1,200Ideal for: Vehicle access, temporary access, travelSuitcase Ramps
Pair of channelsFold like suitcase for storageLightweight but limited capacityBest for wheelchairs, not scootersCost: $200-$600Ideal for: Occasional use, narrow wheelchairsTelescoping Ramps
Extend to needed lengthSingle or multi-fold designVery portableVarious lengths availableCost: $400-$1,500Ideal for: Variable height differences, travel### Modular Ramp Systems
Aluminum Modular Systems
Pre-fabricated sectionsQuick installation (1-3 days)No curing time neededRelocatable if you moveWeatherproof and low maintenanceCost: $3,000-$12,000 installedLifespan: 15-20 yearsComponents:
Ramp sections: 1m, 1.5m, 2m lengthsLanding platformsHandrail systemsAdjustable legs for uneven groundConnection hardwareAdvantages:
Fast installationCan be reconfiguredPortable (take when moving)No building permit often requiredNDIS commonly approvesProfessional appearanceConsiderations:
Higher initial cost than concreteCan be noisy in rainMay not suit all architectural stylesRental agreements may require removalLeading Brands:
EziaccessAccess SolutionsHomecare Ramps AustraliaRampitPortable Ramps Australia### Permanent Ramps
Concrete Ramps
Most durable optionCustom design for siteProfessional installation requiredBuilding permit typically requiredCost: $5,000-$20,000+Lifespan: 30+ yearsDesign Options:
Straight runSwitch-back (for limited space)Curved (architectural feature)Integrated with landscapingSurface Finishes:
Broom finish (standard, slip-resistant)Exposed aggregate (attractive, slip-resistant)Colored concrete (aesthetic appeal)Stamped patterns (decorative)Advantages:
Extremely durableSupports any weightCan be architectural featureAdds permanent property valueNo ongoing maintenanceConsiderations:
Higher costLonger installation (1-3 weeks)Permanent fixtureRental properties problematicCuring time before use (7-14 days)Timber Ramps
Custom-built on siteNatural appearanceModerate costCost: $3,000-$10,000Lifespan: 10-15 years with maintenanceMaterial Options:
Treated pine (most common, affordable)Hardwood (durable, expensive)Composite decking (low maintenance)Marine-grade plywood surfaceAdvantages:
Matches timber homesCan be removed if neededModerate costFaster than concreteConsiderations:
Requires regular maintenanceStaining/sealing every 2-3 yearsPotential for warping or rottingSusceptible to termitesNot ideal for all climates## Planning Your Ramp
### Measuring and Calculating
Step 1: Measure the Rise
Vertical distance from ground to door thresholdMeasure at the point where ramp will be locatedAccount for any ground slopeStep 2: Calculate Required Length
Formula: Rise × 14 = Minimum length (for 1:14 gradient)Example: 500mm rise × 14 = 7000mm (7m) lengthAdd length for any landings requiredAdd extra 300mm at top and bottom for level sectionsStep 3: Check Available Space
Do you have sufficient straight run?If not, consider switch-back designAllow for handrail clearance (50mm each side)Ensure clear path to driveway/footpathExample Calculations:
Scenario 1: Single Step
Rise: 200mmCalculation: 200mm × 14 = 2,800mmRequired length: 2.8m minimumWith top/bottom transitions: 3.2m totalScenario 2: Multiple Steps
Rise: 600mm (three 200mm steps)Calculation: 600mm × 14 = 8,400mmRequired length: 8.4m minimumOver 9m requires landingFinal design: 4.5m + landing + 4.5m = 10.5m total### Site Assessment
Critical Factors:
**Ground Conditions** - Soil type and stability
- Drainage patterns
- Existing landscaping
- Underground utilities
**Weather Exposure** - Sun exposure (materials may heat up)
- Rain and water runoff
- Wind exposure
- Snow/ice (southern states)
**Access During Construction** - Alternative entry during installation?
- Material delivery access
- Equipment access (concrete trucks, etc.)
**Property Boundaries** - Sufficient space within property?
- Setback requirements
- Council regulations
- Neighbor considerations
### Design Considerations
Door Clearance:
Landing must not interfere with door swingOutward-opening doors need larger landing (1500mm)Consider automatic door openerWeather protection (awning) beneficialDrainage:
Ramp surface must drainConsider cross-fall (1:100) for water runoffPrevent water pooling on landingsGutter or drainage at baseLighting:
Essential for safe night useMotion-sensor activation recommendedIlluminate full length of rampMinimum 50 lux at ramp surfaceNo glare or shadows on ramp surfaceWeather Protection:
Awning or cover beneficial (not required)Prevents ice formationKeeps ramp dry and saferExtends ramp lifespanProvides weather protection while accessing door## Installation Process
### Permits and Approvals
When Permits Required:
Generally for permanent structuresVaries by local councilHeight over certain threshold (often 300mm)Attached to house structureWithin certain distance of boundaryApplication Process:
Obtain plans from builder/designerSubmit to local councilPay permit fee ($200-$500 typical)Wait for approval (2-6 weeks)Display permit during constructionBook final inspection when completeDocuments Needed:
Site plan showing ramp locationRamp design drawingsEngineering certificate (if required)Owner consent (if rental)NDIS approval letter (helpful)### Modular Ramp Installation
Timeline: 1-3 Days
Day 1: Site Preparation
Mark out ramp locationLevel ground if neededInstall concrete pads for posts (if required)Prepare threshold connection pointDay 2: Assembly
Install support posts and frameConnect ramp sectionsInstall landing platformsSecure to house structureLevel and adjustDay 3: Finishing
Install handrailsAttach edge protectionInstall tactile indicatorsFinal adjustments and testingClient handover and demonstration### Concrete Ramp Installation
Timeline: 2-3 Weeks
Week 1: Excavation and Formwork
Excavate to required depthInstall compacted baseBuild timber formworkInstall steel reinforcementSet up drainageInstall handrail postsWeek 2: Concrete Pour
Pour concrete (single or multiple pours)Finish surface (broom/aggregate)Install tactile indicatorsCure for 7-14 days (keep moist)Week 3: Finishing
Remove formworkInstall handrailsApply sealer (if specified)Landscaping and cleanupFinal inspection## NDIS Funding
### Eligibility
Ramps typically funded as "minor home modification" if:
Essential for home accessRecommended by occupational therapistReasonable and necessaryRelates to disability### What NDIS Will Fund
Included:
Ramp supply and installationHandrails and edge protectionTactile indicatorsNecessary site preparationProfessional design and certificationRemoval (if rental property)Lighting directly related to ramp safetyNot Included:
Landscaping beyond essential gradingDecorative elementsAwnings (unless justified for specific need)Excessive bettermentGeneral property improvements### Application Process
**OT Assessment:** $400-$800 - Home visit and measurement
- Report with recommendation
- Justification for NDIS
**Obtain Quotes:** Free - Single quote acceptable (under $20k)
- NDIS-registered providers preferred
- Detailed scope of works
**Submit to NDIS:** - Through myPlace portal
- Include OT report and quote
- Photos of current access
**Approval:** 7-21 days typically - May request site inspection
- May request clarification
- Approval issued with funding amount
**Installation:** Per quote timeline - Provider coordinates direct with NDIS
- Payment typically direct to provider
- Final invoice and photos to NDIS
## Maintenance and Safety
### Regular Maintenance
Monthly Checks:
Visual inspection for damageTest handrails are secureClear any debris or leavesCheck drainage is clearClean surface if slipperySeasonal Maintenance:
Spring/Summer:
Check for sun damage or fadingInspect for rust or corrosionClean algae growthCheck landscaping not obstructingAutumn:
Clear leaves promptly (slip hazard)Check drainage before winterInspect for damage from summer stormsWinter:
Clear ice or snow immediatelyCheck heating elements (if installed)Monitor for water damageApply de-icer if needed (non-corrosive)### Material-Specific Care
Aluminum Ramps:
Wash with mild detergentCheck connection points annuallyTouch up paint if scratchedTighten bolts if looseMinimal maintenance requiredConcrete Ramps:
Seal every 2-3 yearsRepair cracks promptlyClean with pressure washer annuallyCheck handrail anchorsMonitor for settling or movementTimber Ramps:
Stain/seal every 2-3 yearsCheck for rot or termite damageReplace damaged boards promptlyTighten bolts annuallyCheck structural posts in ground### Safety Considerations
Preventing Slips:
Non-slip surface treatmentKeep clean and dryAddress algae or moss immediatelyGood drainage essentialAdequate lightingPreventing Falls:
Secure handrails both sidesEdge protection if elevatedNo protruding objectsTactile warnings at topClear sight linesWeather Hazards:
Ice: heating elements or frequent clearingRain: effective drainage and surface textureHeat: light-colored surface or shadingWind: handrails and edge protection## Special Situations
### Rental Properties
Considerations:
Landlord written consent requiredModular ramps preferred (removable)NDIS may fund removal when movingDocument property condition before installationConsider portability in designNegotiating with Landlords:
Emphasize removabilityOffer to restore propertyHighlight potential value additionProvide professional quotes and plansConsider longer lease in exchange### Steep Sites
Challenges:
Limited space for gradual gradientDifficult construction accessDrainage issuesHigher costsSolutions:
Switch-back designMultiple shorter ramps with landingsPlatform lift instead (if very steep)Retaining walls for levelingProfessional engineering assessment### Multiple Entry Points
Common Scenario:
Front door has multiple stepsBack door has single stepGarage entry possibleDecision Factors:
Primary usage and convenienceAvailable space at each entryCost comparisonFuture needsGuest access vs. personal useNDIS may fund most practical option### Vehicle Access
Driveway to Door:
Consider pathway as well as rampMinimum 1200mm wide pathLevel or maximum 1:14 gradientFirm surface (concrete or pavers)Good drainageLighting for night accessGarage to Living Space:
Internal ramp if possibleWeather protection benefitMay be most practical solutionDoor width considerationsAutomatic garage door beneficial## Alternatives to Ramps
### When Ramps Aren't Ideal
Insufficient space for compliant gradientVery steep siteHistoric property (aesthetic concerns)Rental property (landlord refuses)Temporary needMultiple levels to access### Alternative Solutions
Platform Lifts (Vertical)
Straight vertical riseCompact footprint1-2 person capacityIndoor or outdoorCost: $20,000-$35,000NDIS may fund if more suitableStair Lifts
Rides on stair railStraight or curved configurationsChair or platform styleIndoor typicallyCost: $8,000-$25,000Limited capacity (one person)Portable Solutions
Folding/telescoping ramps for short-termSuitable for small height differencesNo installation requiredLower costLess convenientRelocating
NDIS Specialist Disability AccommodationPurpose-built accessible housingMay be more cost-effective long-termNDIS may fund moving costsConsider if extensive modifications needed## Real-World Examples
### Example 1: Simple Entry Ramp
Situation:
Single 200mm step at front door
Solution:
3m modular aluminum ramp
Timeline:
1 day installation
Outcome:
Independent access restored, highly satisfied
### Example 2: Complex Split-Level
Situation:
700mm rise with limited space
Solution:
Switch-back concrete ramp with landing
Outcome:
Permanent solution, architectural feature, added property value
### Example 3: Rental Property
Situation:
400mm rise, rental home, elderly occupant
Solution:
Modular ramp on concrete footings
Cost:
$7,800 (including removal allowance)
Special Notes:
Removable when tenant relocates
Outcome:
Successful aging in place for 5 years, ramp moved to next home
## Conclusion
Wheel chair ramps are often the first and most critical home modification, providing essential access to your home. Key takeaways:
**Standards are critical** - AS 1428.1 ensures safety and usability**Choose appropriate type** - Match ramp style to your situation**Professional installation** - Ensures compliance and safety**NDIS funding available** - For eligible participants with OT recommendation**Regular maintenance** - Keeps ramp safe and extends lifespanWith proper planning, design, and installation, a ramp provides safe, dignified access to your home for years to come.